Wrap my Boat instructions
With a little skill, you can wrap your boat yourself relatively easily. Our high-quality, hard-wearing films can also be easily applied by non-professionals. Watch the following videos and read our detailed instructions.
In this article, I would like to explain to you how you can wrap your Boat Wrapping yourself relatively easily.
Processing conditions
- Only apply our design films in clean, dust-free and bright rooms
- The minimum temperature of the surface to be covered is +10°.
- The best possible result is achieved at temperatures of +21° C to +23° C on the surface to be covered.
Use an infrared thermometer to accurately measure the heating of the substrate.
Required tool
The following tools are essential for bonding:
- Foil squeegee with felt edge
- Cutter knife
- Hot air dryer
- Spray bottle
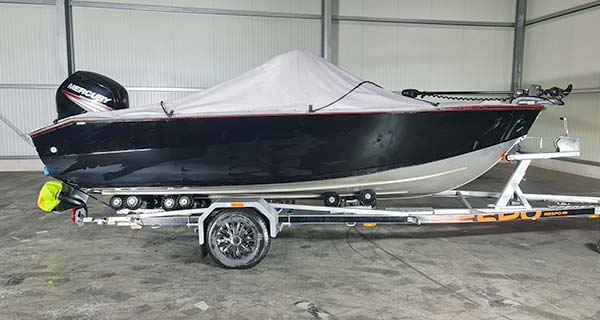
#1 Preparation of the surface to be covered
The adhesive film can be applied to all smooth surfaces. The material is less important than the cleanliness of the surface. The surface must be clean (i.e. free of grease, oil, wax and silicone). To do this, you should first remove any dirt from the surface using a commercially available cleaner.
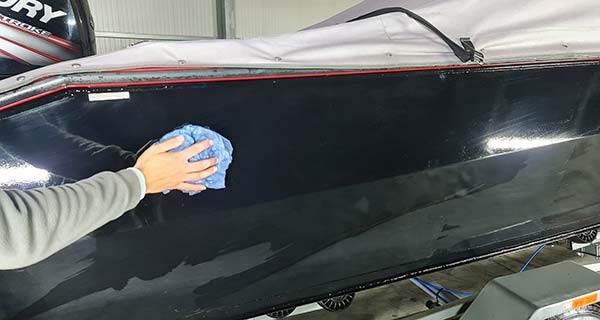
#2 Further preparation of the substrate
We recommend using isopropyl alcohol or white spirit to degrease the surface afterwards. You should use a lint-free cloth or paper towel for this. Painted or varnished surfaces must first be completely hardened or dried. Foiling below the waterline is not recommended for watercraft, as discoloration of the foil can occur if the foil is under water for a longer period of time. Special features of bare aluminum boats. Some bare aluminum boats have a dirt-repellent coating, which must be washed off with thinner before applying the film, otherwise the adhesive will not adhere properly. To test this, you can use the water droplet test. This involves wetting the surface to be glued with water. If the water runs off the surface, it is not advisable to apply the adhesive. If the water runs off without forming large droplets, the surface can be covered.
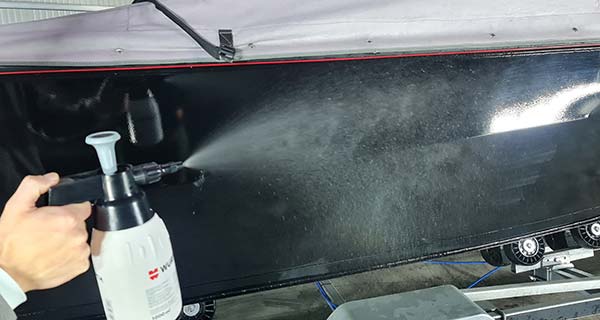
#3 For wet bonding
First, the backing paper must be removed from the film. The easiest way to do this is to wet the front of the film with water and then place it on a smooth surface (e.g. the side of your boat). The capillary forces of the water cause the film to adhere and you can easily peel off the backing paper without the film warping. Next, spray the adhesive surface of the film and the surface to be covered on your boat with a mixture of water and washing-up liquid. Add approx. 2 to 3 drops of washing-up liquid to 1 liter of water. This mixture forms a film between the adhesive of the film and the surface to be covered so that the film can be easily pushed into the correct position.
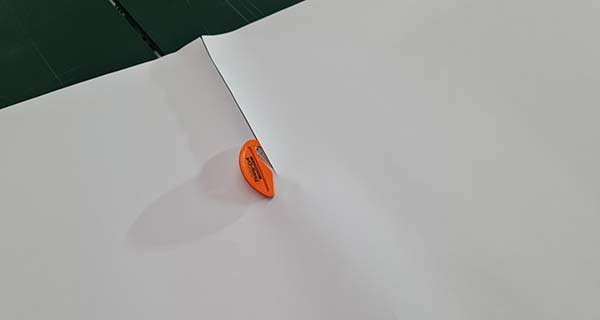
#4 Prepare slide
First, use the special foil knife to cut a strip of backing paper from the center of the foil.
#5 Further slide preparation
Remove the backing paper strip.
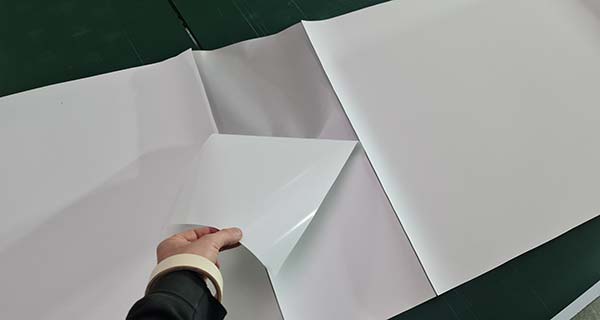
#6 Placing the boat foil
It is best to have a second person help you with the next steps. The person holding the stern area of the foil positions the foil at the stern. The piece of foil that has been cut free can then be pressed against the boat while it is held under tension.
#7 Remove backing paper
The backing paper on the rear side can now be removed completely.
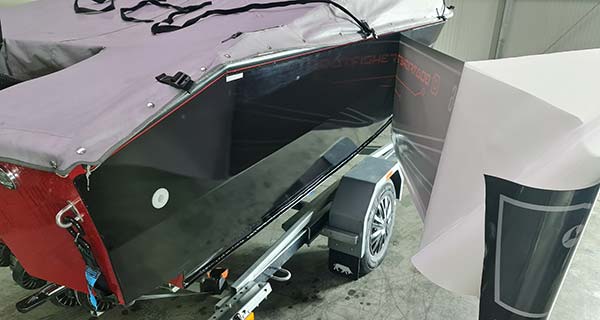
#8 Creating the rear section of the foil
Once the backing paper has been removed, the film can be pressed into position.

#9 Create front part of the slide
The backing paper can then be completely removed in the direction of the front. The film is now positioned by touching it several times and then printed. (Small creases and bubbles will be removed later)
#10 For wet bonding
Once the film is in position, start squeezing out the water with a felt squeegee in even, sweeping movements. Work from top to bottom. If there are still small air bubbles (diameter less than 5 mm) under the bonded film, experience has shown that these will diffuse through the film within a few days to three weeks, depending on the ambient temperature. Larger air bubbles must be punctured with a needle or a pointed scalpel and then the air pressed out.
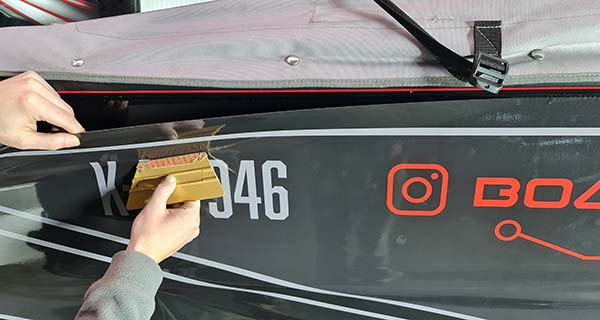
#11 Paint the foil firmly
Once the film is positioned and already slightly adherent, it is pressed on with a squeegee. Work from the center of the entire boat to the top. Deformations and creases in the film. If creases or unwanted deformations occur during the application of the film, heat the affected area with a hot air dryer and the film will return to its original shape.
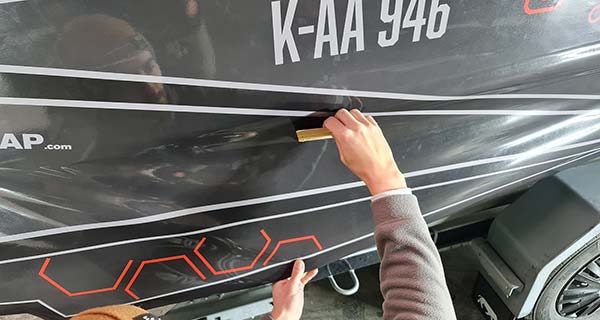
#12 Attach foil
The top side of the film must be loosened and realigned as required. If this causes creases or unwanted deformations in the film, heat the affected area with a hot air dryer and the film will return to its original shape. Once the film has been wrapped from the center to the top edge, continue working from the center to the bottom edge. Always work piece by piece along the entire length of the boat. If creases or unwanted deformations occur during the application of the film, heat the affected area with a hot air dryer and the film will return to its original shape.
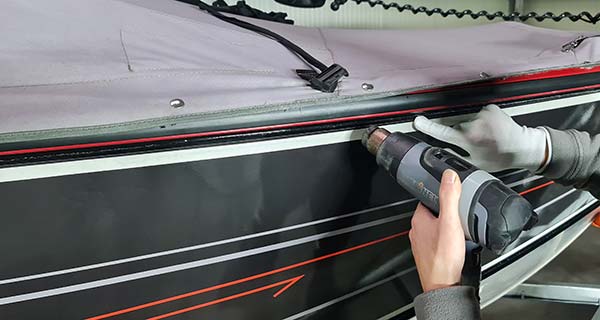
#13 Drying times
After bonding, the boat must remain at the bonding temperature for at least another 24 hours. If this is not the case, post-treatment with a hot air dryer is recommended. Experience has shown that the film has reached optimum adhesion three days after bonding. The boat must not be launched before this period has elapsed. In the case of curved surfaces, heat the film over a large area to a surface temperature of +40° C to a maximum of +60° C using a hot air dryer. To activate the adhesive quickly, all deep-drawn areas, edges and edges must be carefully heated again with the hot air gun after application. To ensure that the film takes on a permanent structure in beads, the film must be subsequently heated to +110° C to a maximum of +120° C in these areas. Finally, heat all edge areas, edges and beads again with the hot air gun to +110° C to a maximum of +120° C. When working with the hot air gun, keep it in constant motion. Otherwise there is a risk of damaging the film. The boat film for dry bonding consists of an air duct film. If there are bubbles in the film, you can simply press them out with your fingers.
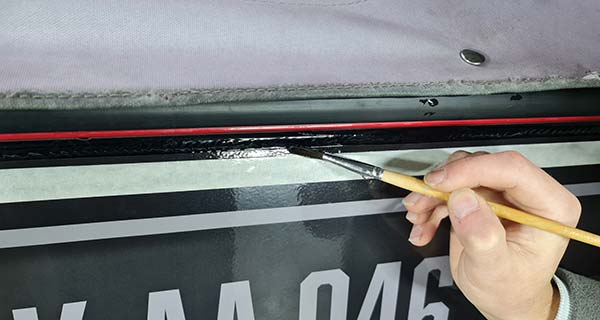
#14 Sealing the edges
We also recommend coating the edges of the film with our special edge sealant. This provides additional protection and ensures that the film adheres securely even when driving fast. It is possible to apply the edge sealer by hand. However, we recommend applying an adhesive strip 0.5 -1 cm in front of the edge of the film. This allows the adhesive strip to be removed after sealing, leaving a clean, straight sealing edge. The edge sealer should be spread 0.5 -1 cm on the film and also 0.5 - 1 cm on the boat base. This sealing width is necessary to protect the film from peeling off.
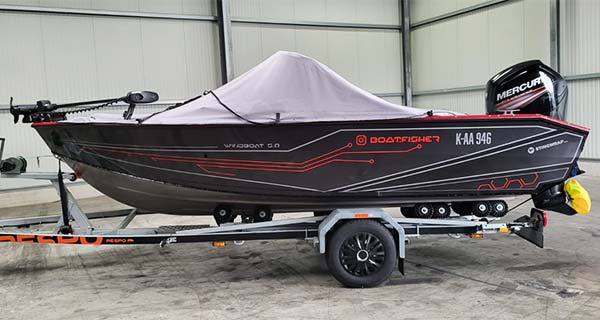
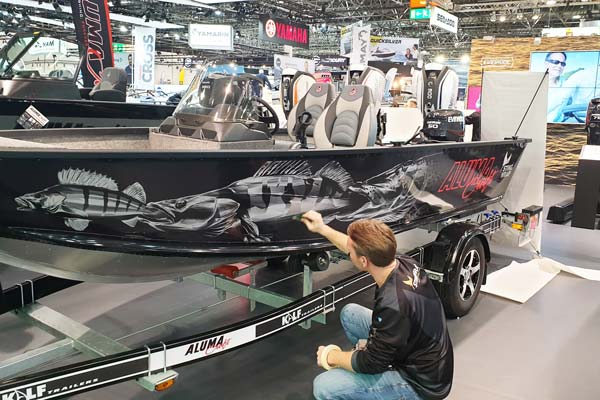
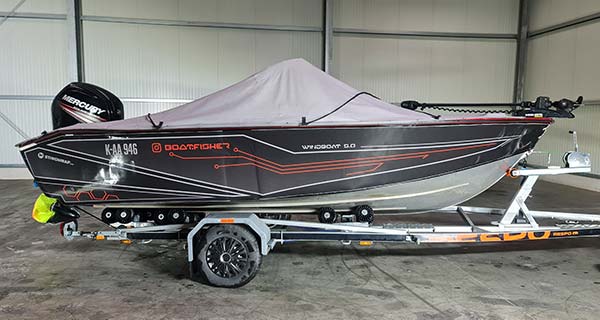
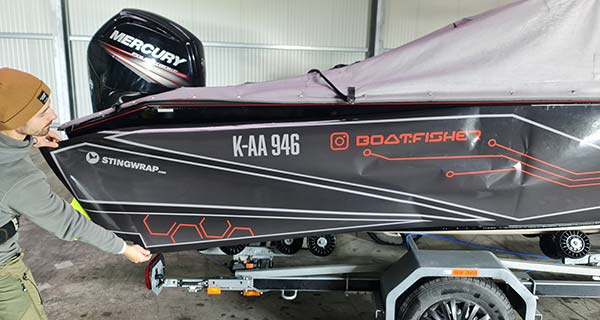
#15 The finished foiled boat
Tips and tricks video
Last but not least, a video with a few helpful tips and tricks.
Boat Wrapping
If you don't have the confidence to have your boat wrapped, we will of course be happy to do it for you! If the distance is too far, or if there are other reasons why you can't bring the boat to us, you also have the option of having our films applied by a local advertising technician.