Adhesive instructions 3D Boat lettering
In this step-by-step guide, we show you how to securely and cleanly attach 3D Boat lettering to your boat - for a high-quality, professional finish.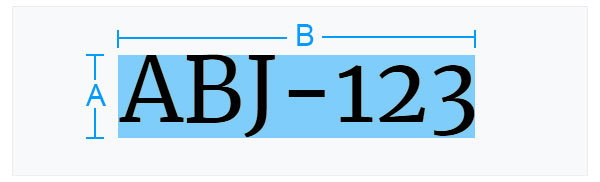
Boat lettering size
The specified height and width always refer to the total area of the font. Here in the example, "A" is the font height and B is the font width.
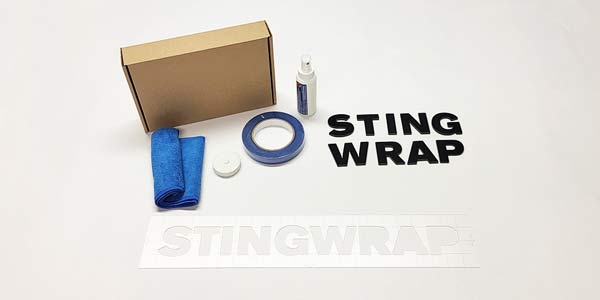
Boat lettering 3D mounting set
A mounting set is included with every 3D Boat lettering. It contains all the accessories you need for installation.
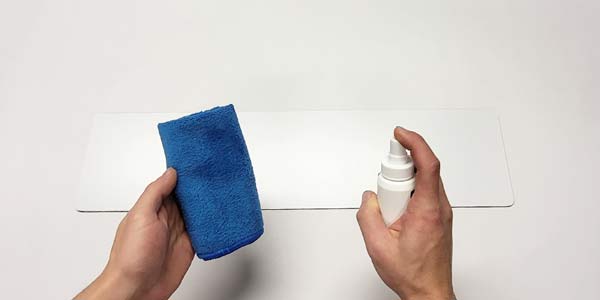
Clean the substrate
The first step is to clean the substrate. You can use the supplied cleaner for this. Stronger cleaners may need to be used for heavier soiling.
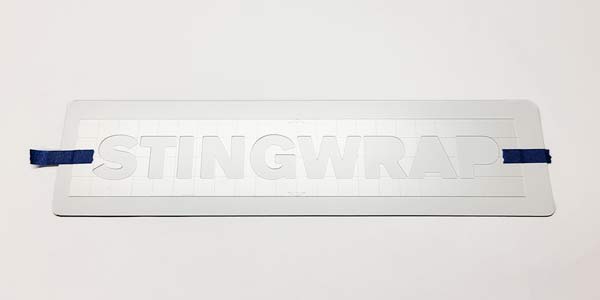
Aligning 3D Boat lettering
Now that the surface is free of dust and grease, place the supplied stencil in the desired position using the Crepe tape. If the stencil is too high or wide, these areas can be cut to size with sturdy scissors.
Fixing Boat lettering 3D
As not all fonts can be aligned using the letters, there are engraved guide lines in the template. These guide lines can be used to align the lettering with millimetre precision.

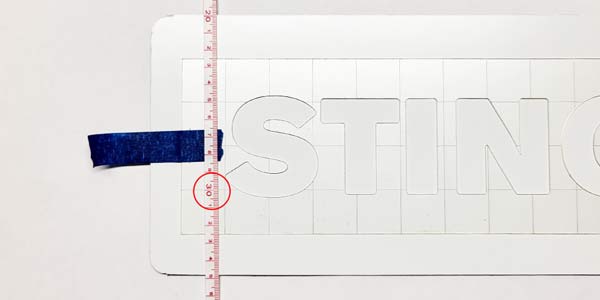
Fixing Boat lettering 3D on the other side
The template must be aligned to the exact same auxiliary line on the left and right. This can be seen in the example on the 30 cm line.
Prepare 3D lettering
Once the template has been successfully aligned, we recommend fixing it in place with additional Crepe tape so that it can no longer slip.
Remove protective paper
The high-performance adhesive on the back of the 3D letters is covered with protective paper. This protective paper must now be carefully removed. Take care not to damage the foam of the adhesive.
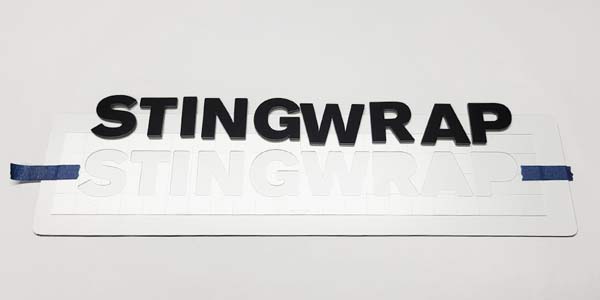
Placing 3D Boat lettering
The template is 1 mm larger all round than the letters so that the letters can be inserted without any problems. The letters must be placed in the center of the recess. Then press the entire letter firmly into place.
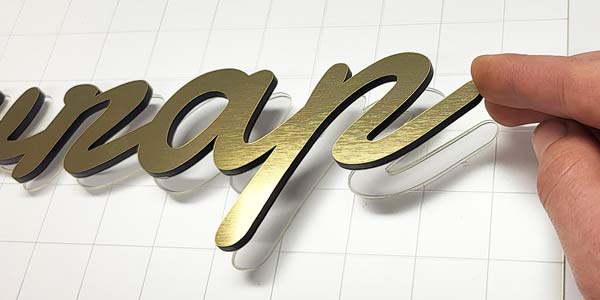
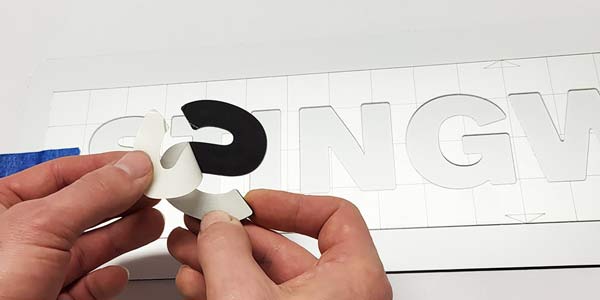
Stick on 3D Boat lettering
Connected letters can be lightly pressed on one side while holding the other end in the air. This allows the lettering to be rotated and positioned correctly in the template.
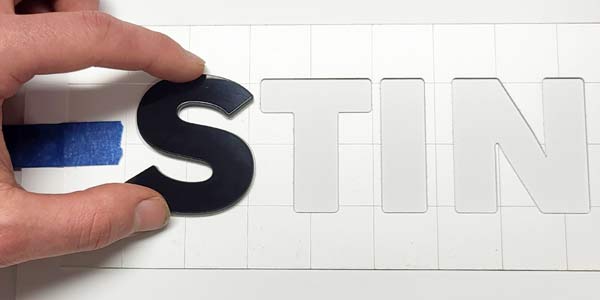
3D Boat lettering without template
Place all the letters and fonts completely in the template and press everything down firmly again. The stencil can then be removed.

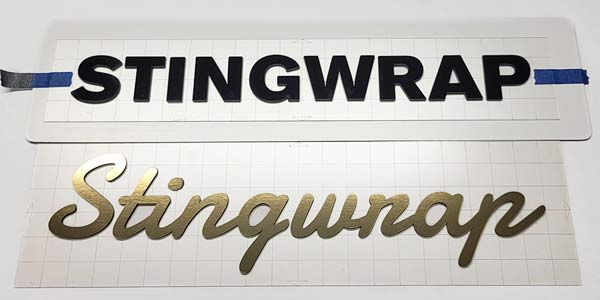
Boat lettering 3D
Some lettering has a protective film. Once this protective film has been removed, the installation is complete. We wish you lots of fun and success with your 3D Boat lettering!