Adhesive instructions for Boat lettering
Here you can find out how to easily apply Boat lettering with transfer film yourself. We show you how to align the lettering precisely and stick it on securely - without stress and with top results.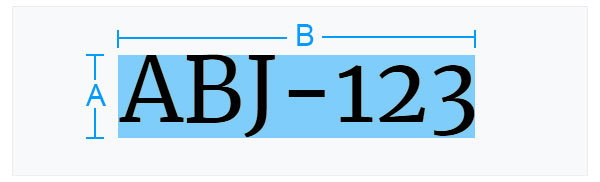
Font size
The specified height and width always refer to the total area of the font. Here in the example, "A" is the font height and B is the font width.

Font size
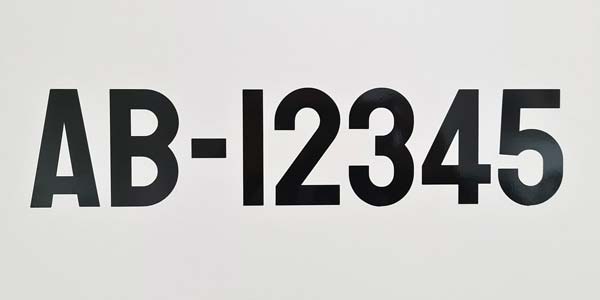
For a boat license plate, we recommend a font with digits of the same height.
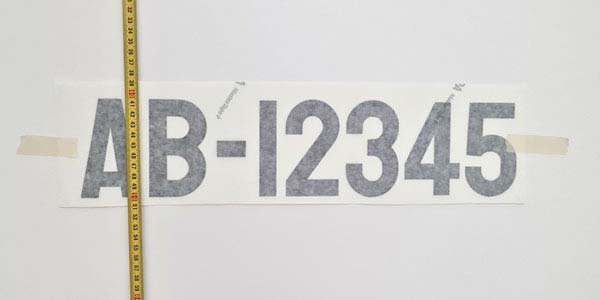
Measure the boat license plate straight.
First you have to measure the boat license plate straight and fix it with Crepe tape.
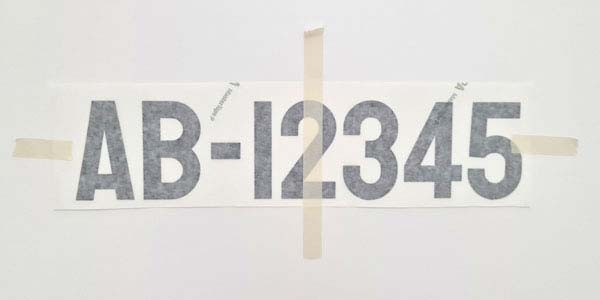
Fix the boat license plate with Crepe tape.
Once it is in the right position, fix it in the middle with Crepe tape.
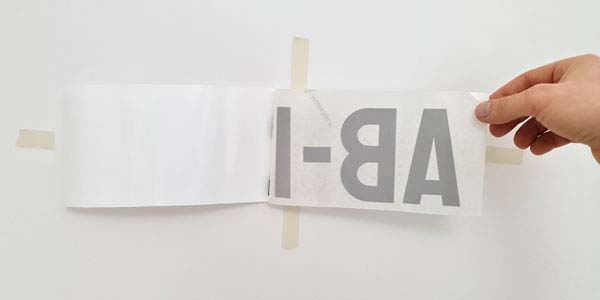
Fold down the boat license plate.
Now cut through the Crepe tape on one side and remove the lettering from the backing paper.
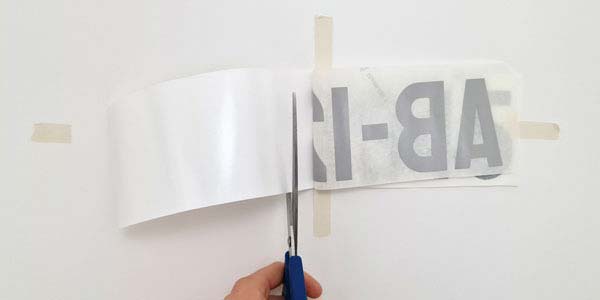
Cut through the backing paper.
Cut off the backing paper with scissors and fold the lettering back under slight tension. (In the case of chrome letters, the substrate and the foil must be sprayed with water)
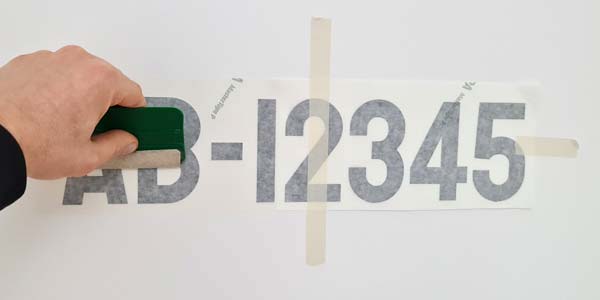
Press on the boat license plate.
Then squeegee the letters with even movements and light pressure.
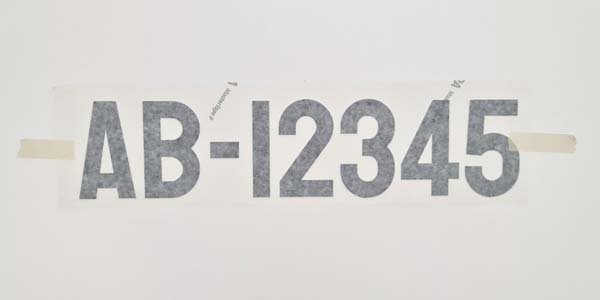
Repeat the process.
Next, repeat the process for the other side and then press the individual letters down firmly again. (Chrome letters must also be sprayed with water again).
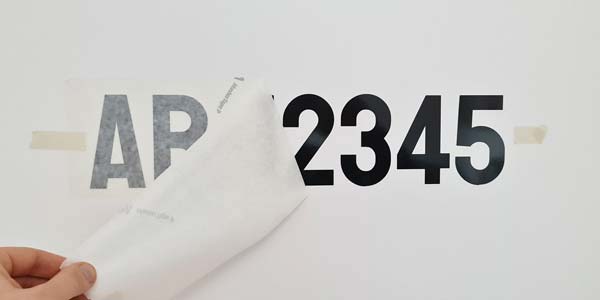
Remove the backing paper.
Finally, you can carefully remove the transfer foil. If the lettering was applied wet, extreme care must be taken when removing it.
What remains is your Boat registration sticker.
What remains is your Boat registration sticker.